If you just unboxed your brand-new SuperBox P7 Pro projector and you’re not sure where to begin, don’t worry, you’re about to set up SuperBox P7 Pro in just a few simple steps. Even if this is your first time using an Android-based projector, the process is quick, beginner-friendly, and takes less than 10 minutes from start to finish. In this guide, we’ll walk you through everything you need to know to set up SuperBox P7 Pro correctly the first time, from powering on the device to fine-tuning the picture, pairing the remote, connecting to Wi-Fi, and more.
What Is SuperBox P7 Pro and How Does It Work?
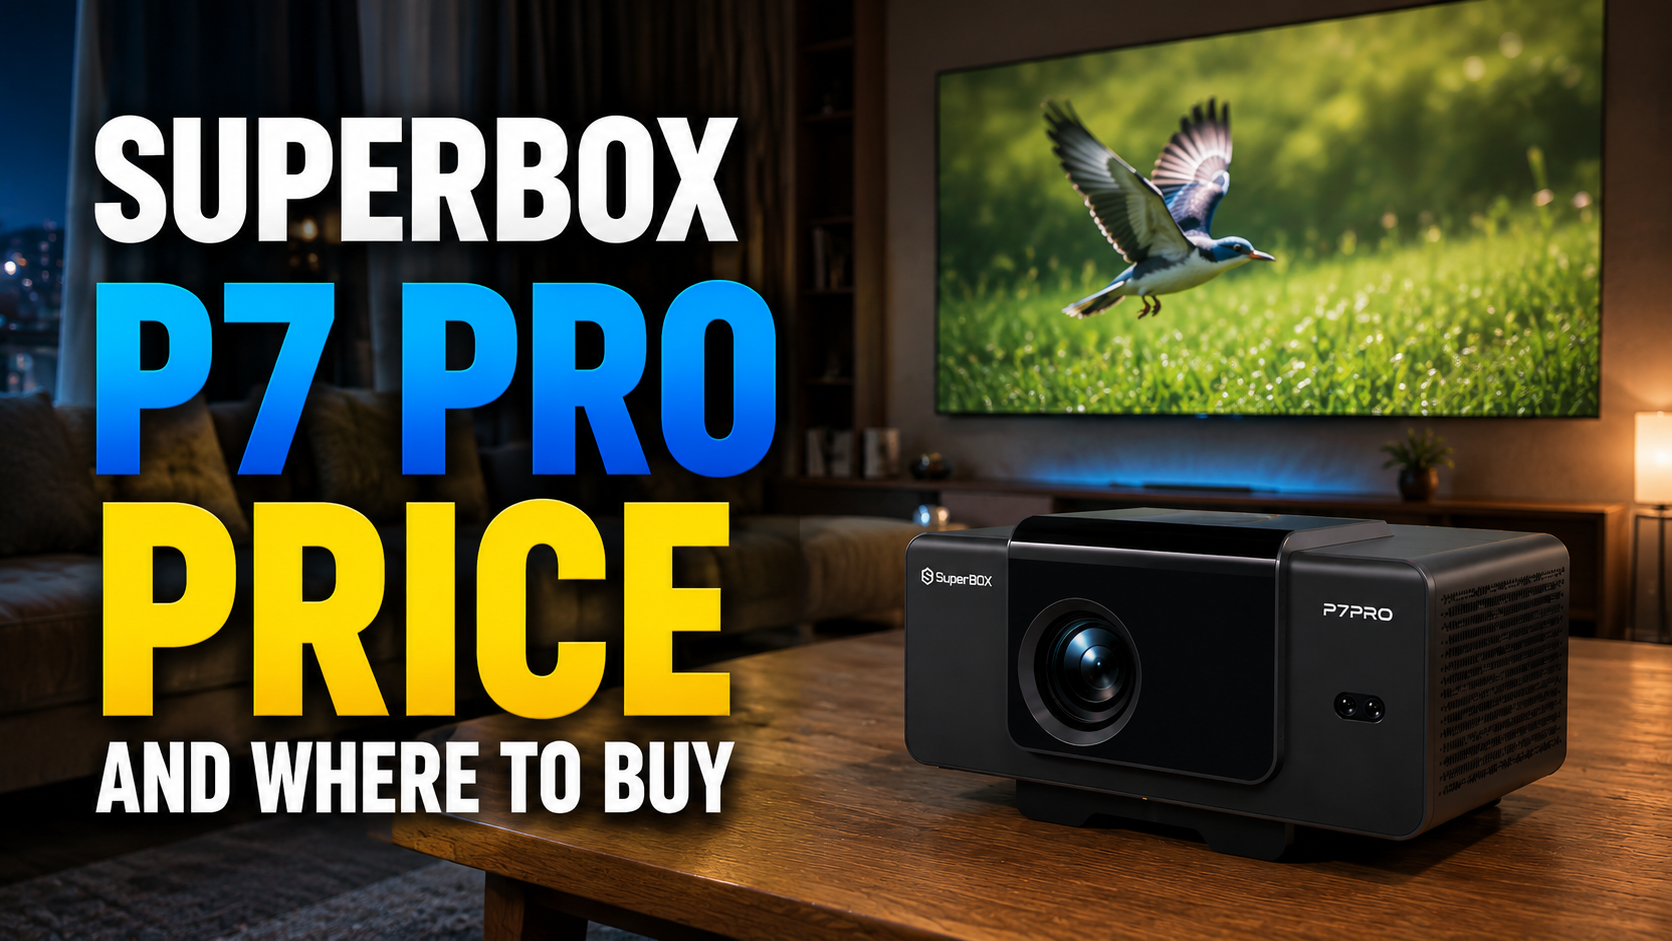
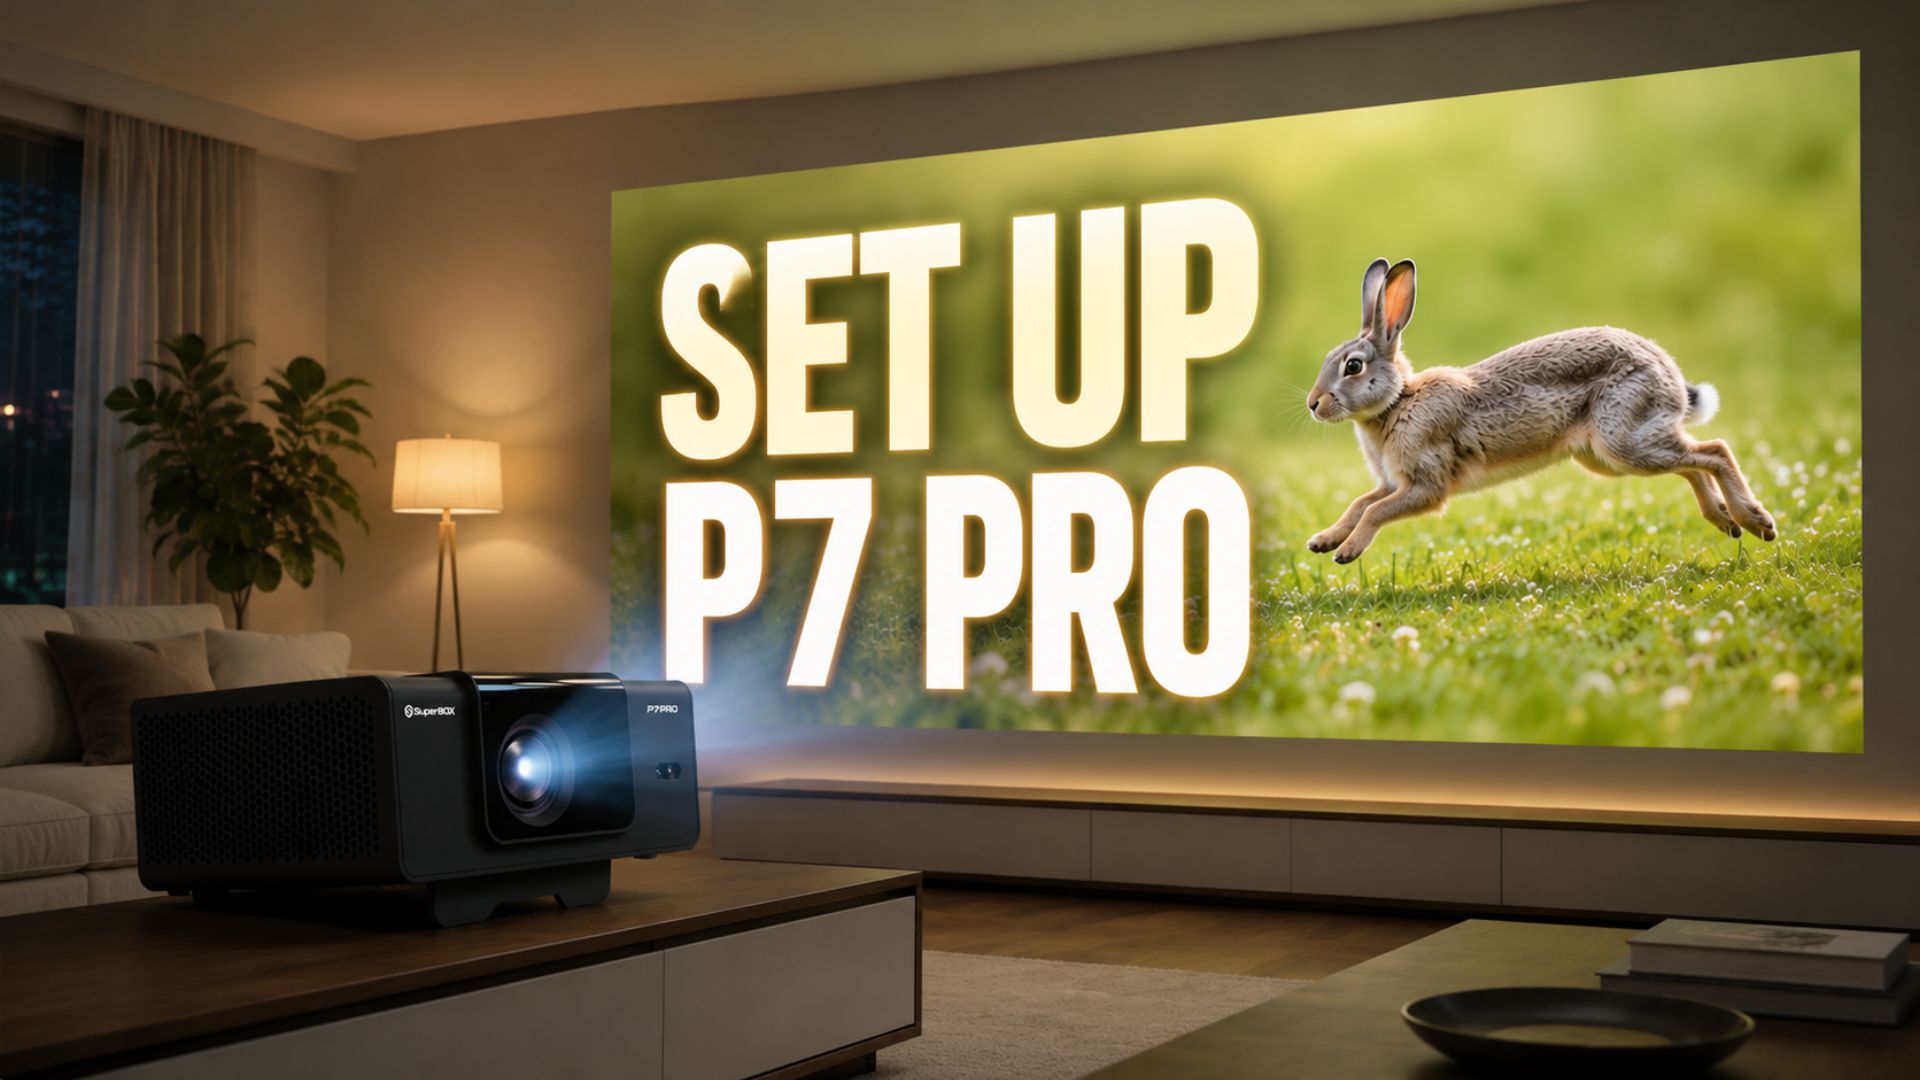
Before you set up SuperBox P7 Pro, it helps to understand what the device actually does. SuperBox P7 Pro is an Android-powered smart projector that brings live TV, on-demand content, movies, and more directly to any wall or projector screen in your home, using nothing but your home internet connection. Unlike traditional TV boxes that require an external television, P7 Pro projects the image itself, turning any room into a home theater.
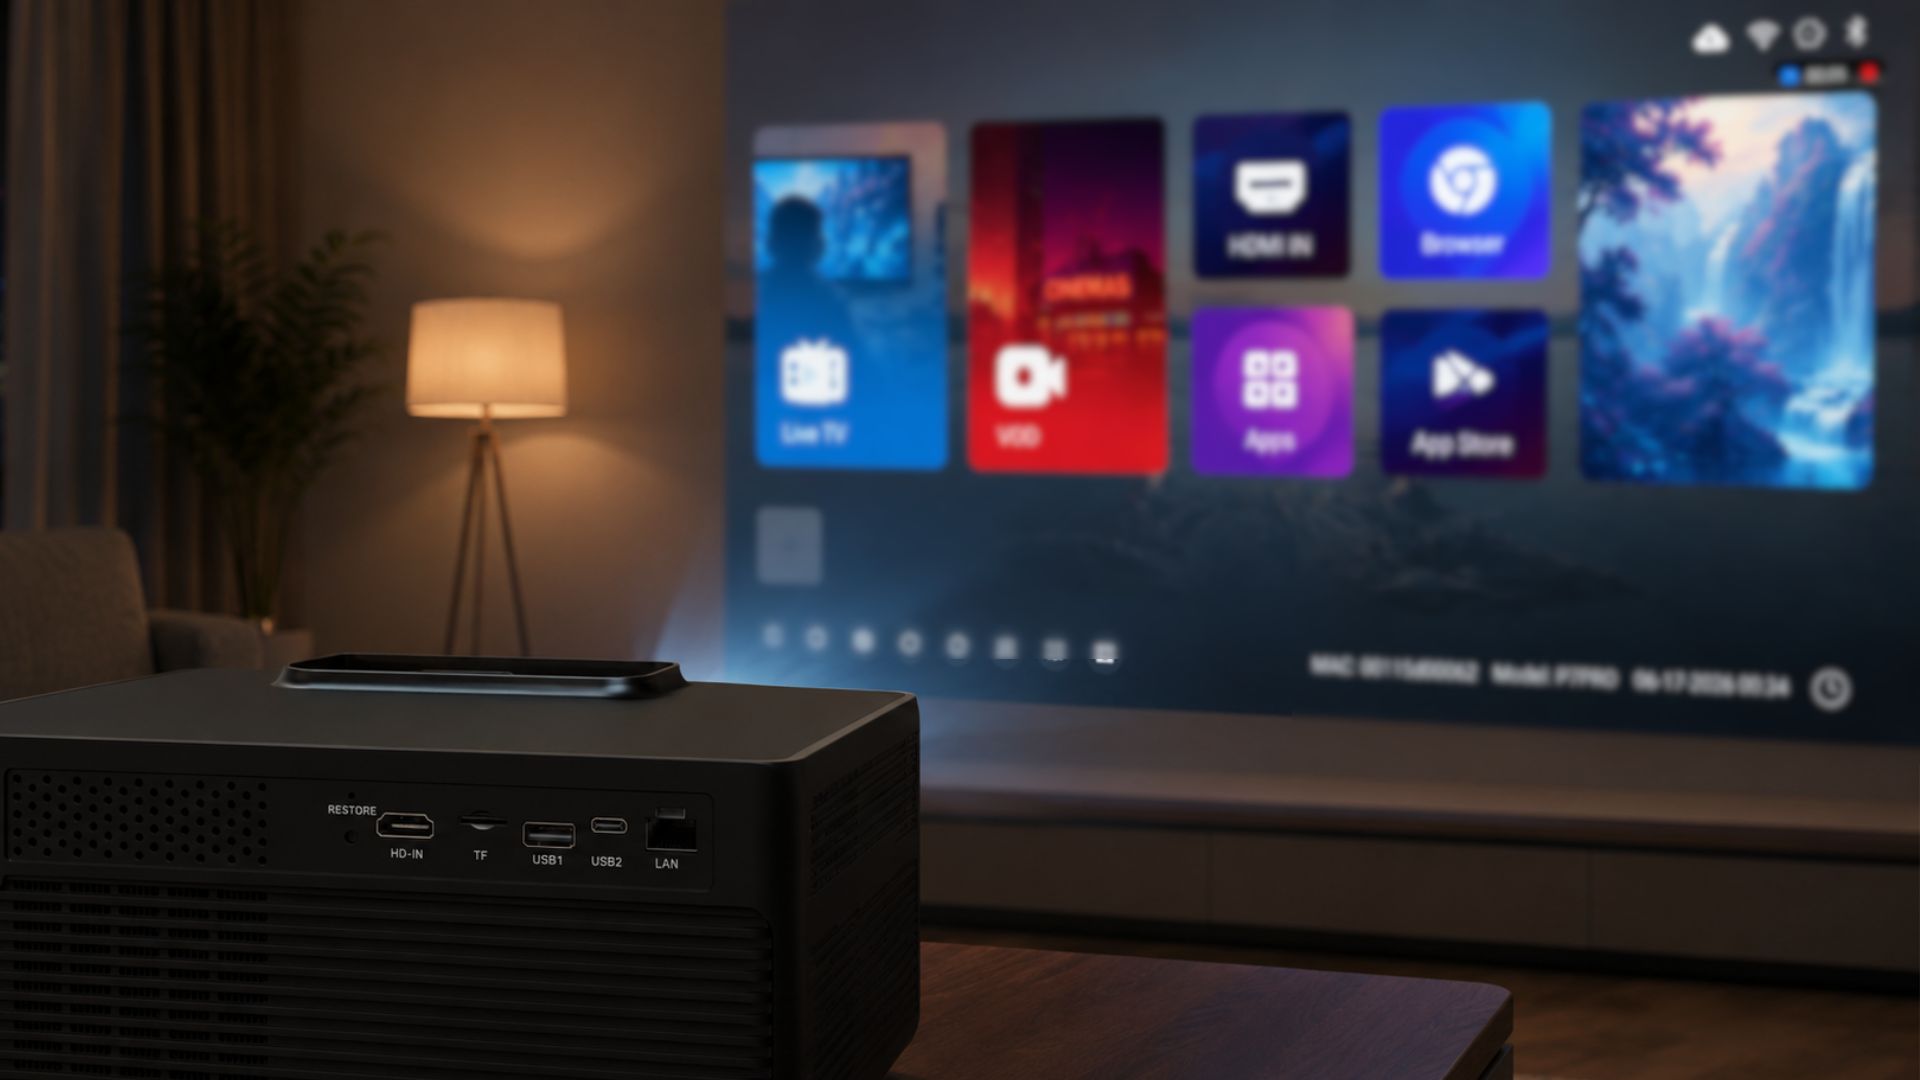
What makes it especially easy to set up SuperBox P7 Pro is that the interface, menus, and navigation are exactly the same as other SuperBox devices. If you’ve ever used a SuperBox TV box before, you’ll feel right at home. In fact, both devices run on the same underlying software, so if you want a broader walkthrough of the shared interface, apps, and settings menu, you can check out our general guide on how to set up SuperBox. Since P7 Pro and the TV box lineup share the same software, the setup steps for navigating menus, apps, and settings are essentially identical.
How to Power On and Set Up SuperBox P7 Pro
The first real step to set up SuperBox P7 Pro is getting it powered on and positioned correctly. Because P7 Pro is a projector rather than a traditional TV box, this step looks a little different.
- Place the projector facing a flat, blank wall or a dedicated projector screen, making sure there are no obstructions in the way.
- Plug the power cable into the projector, then plug the other end into a outlet.
- Press the power button to turn the device on. Within seconds, the SuperBox welcome screen will appear directly on the wall or screen.
Pro tip for the best picture quality: when you set up SuperBox P7 Pro, position the projector roughly 1.5 meters (about 5 feet) away from the wall or screen. This distance has been found to deliver the best balance of image size, brightness, and sharpness. Placing it too close will shrink the picture, while placing it too far away can reduce clarity and brightness.
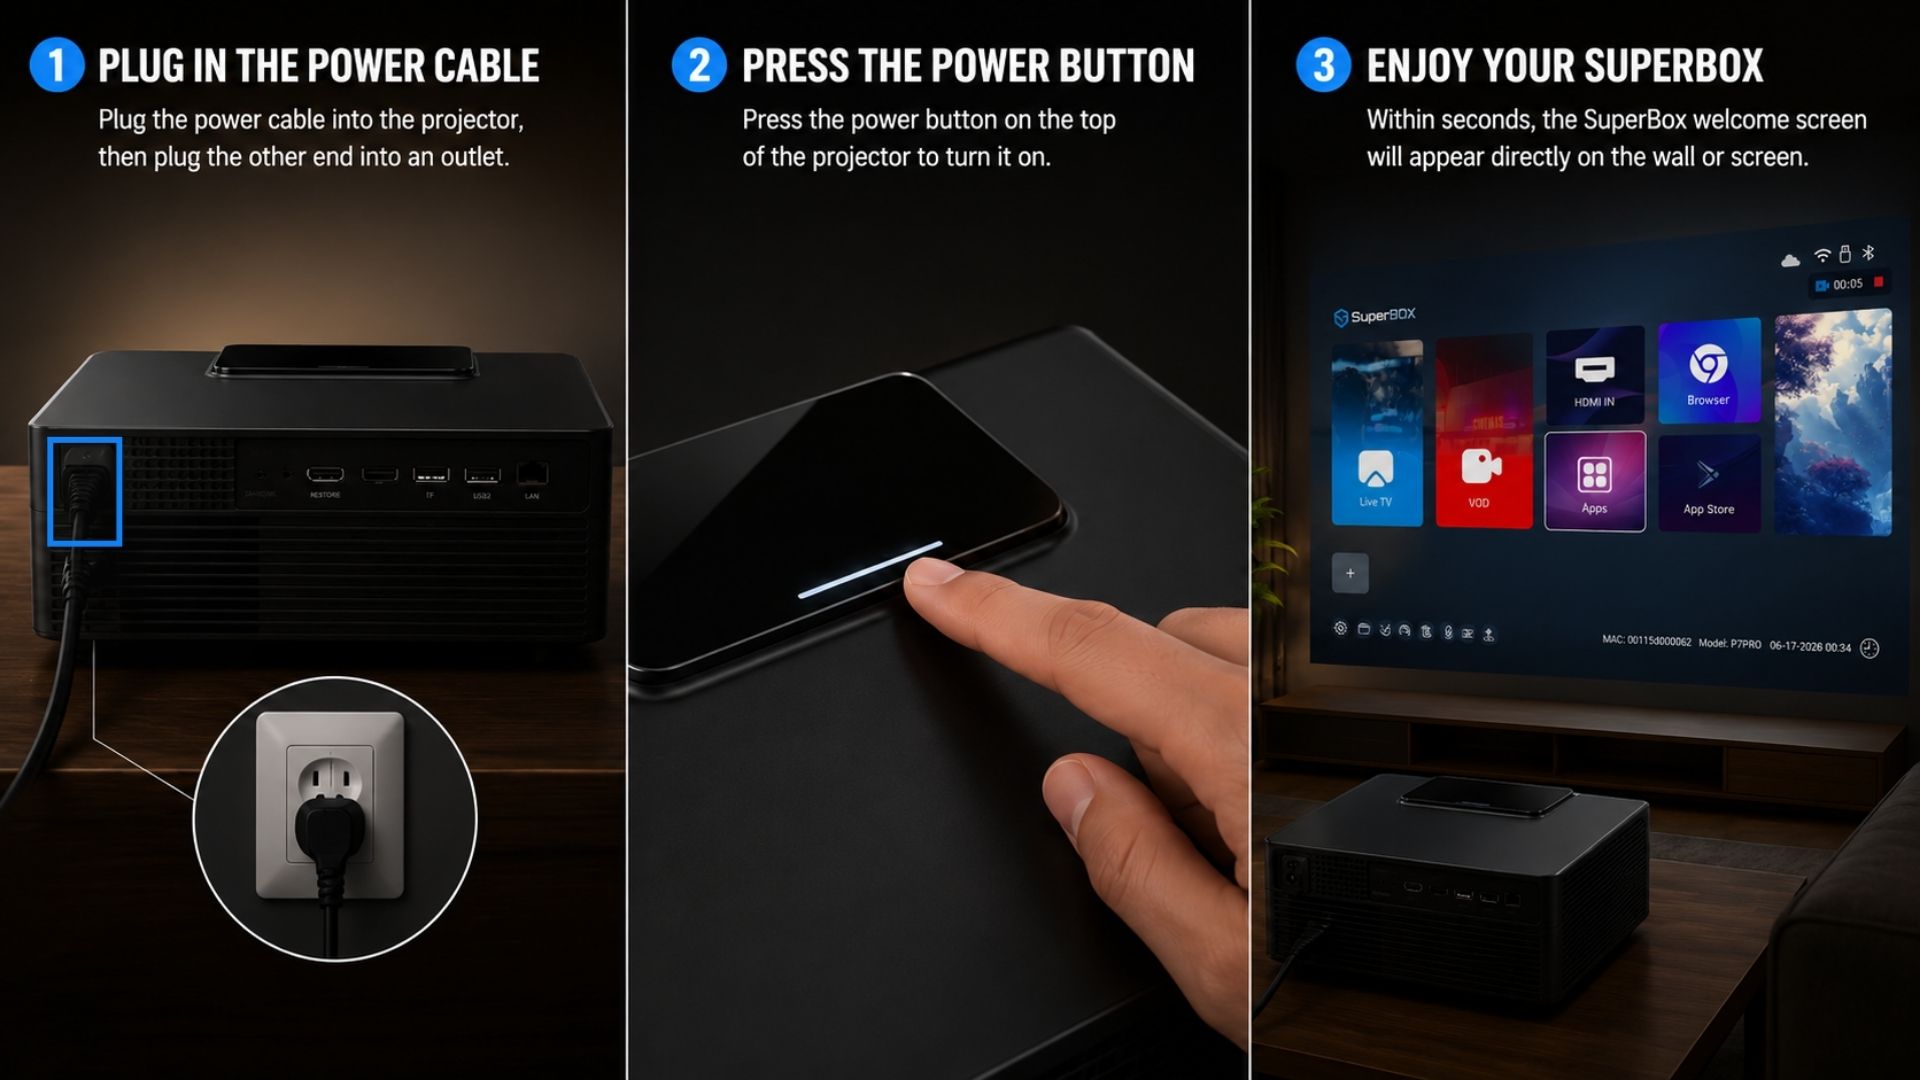
From plugging in the power cable to seeing the welcome screen, the process to set up SuperBox P7 Pro takes less than five minutes. No technical background is required, even first-time users and seniors find it simple to get started.
How to Focus and Adjust the Picture When You Set Up SuperBox P7 Pro
The SuperBox P7 Pro comes with Auto Focus enabled by default. Simply place the projector about 1.5 meters (5 feet) from the wall or projection screen, power it on, and it will automatically adjust the image to a clear, sharp picture within a few seconds.
If you prefer to fine-tune the focus yourself, you can easily switch to manual mode.
How to Manually Adjust the Focus
- From the Home Screen, open Settings.
- Select Projection Settings.
- Auto Focus is turned On by default. Turn it Off if you want to adjust the focus manually.
- Scroll down and select Focus Setting.
- Use the Up, Down, Left, and Right arrow buttons on the remote control to adjust the picture until it looks sharp.
Other Projection Settings You Can Adjust
Inside Projection Settings, you’ll find several useful options:
- Auto Focus – Automatically keeps the image sharp.
- Obstacle Avoidance – Detects objects on the wall and adjusts the projection area.
- Entering the Screen – Automatically fits the image inside your projection screen.
- Projection Mode – Choose Front, Rear, Ceiling Front, or Ceiling Rear installation.
- Focus Setting – Manually adjust image sharpness.
- Horizontal Mode – Fine-tune the image position and alignment.
Tips for the Best Picture Quality
- Place the projector approximately 1.5 meters from the wall or screen for the best autofocus performance.
- Project onto a flat white wall or a dedicated projector screen for the sharpest image.
- Dim the room lights or close the curtains. Like most projectors, the P7 Pro delivers its best contrast, brightness, and colors in a darker environment.
- If the picture still isn’t as sharp as you’d like, disable Auto Focus and use Focus Setting to make manual adjustments with the remote control.
How to Pair the Baclit Remote With SuperBox P7 Pro
Every SuperBox P7 Pro comes with a backlit Bluetooth remote that supports both voice control and wireless Bluetooth connectivity. To enjoy all of its features, you’ll first need to pair the remote with the projector properly. Once paired, you’ll also be able to turn the backlit keys on or off whenever needed.
Let’s start by pairing the remote via Bluetooth.
- Insert batteries into the remote (batteries are not included in the box). Once inserted, you can already use the remote to navigate, but you’ll need to point it directly at the projector for it to respond. Pointing it elsewhere won’t work, so continue to the next step for full Bluetooth pairing.
- Point the remote at the projector, then press and hold both the “Back” and “OK” buttons at the same time until the red LED light on the remote starts blinking. This means the remote has entered pairing mode.
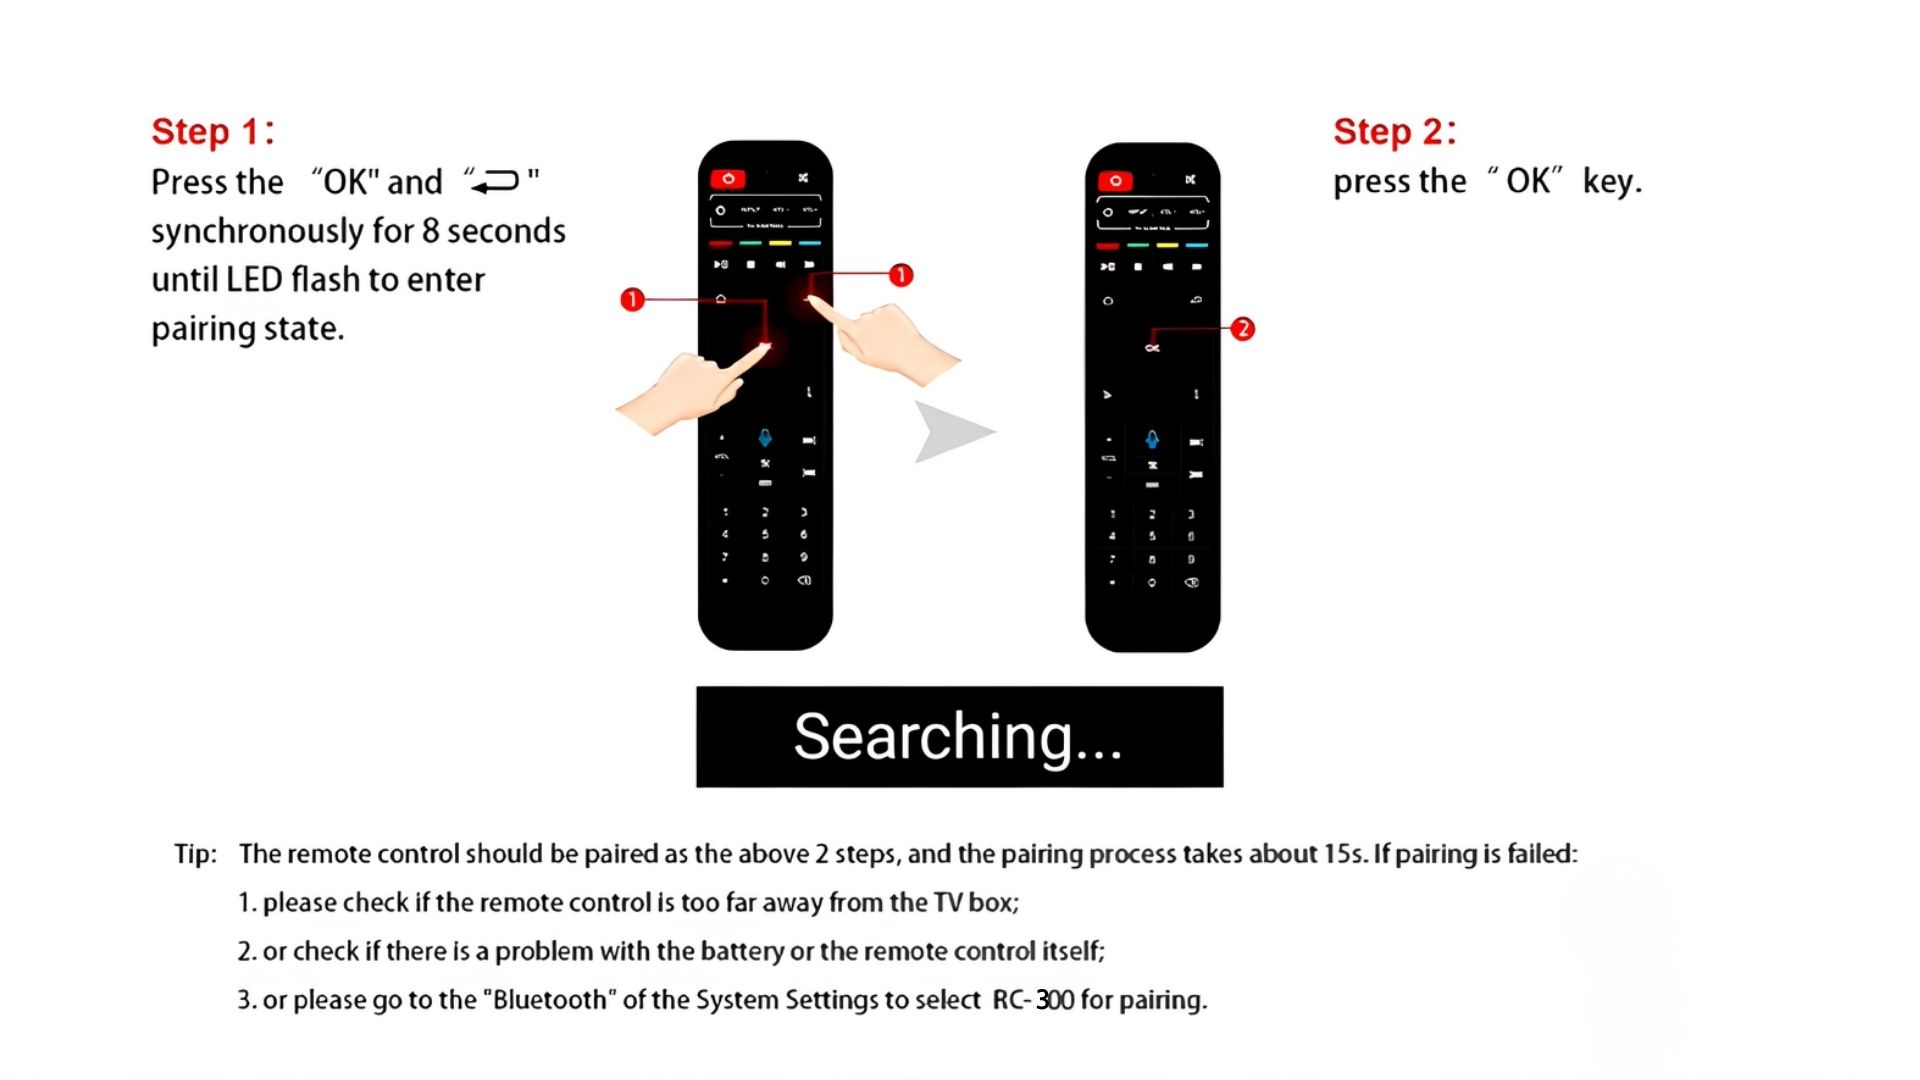
- On the screen, go to Settings > Bluetooth, and look for a device named RC-300L. Once it connects successfully, your remote is fully paired via Bluetooth.
How to turn on the backlit buttons:
- Press and hold the OK button and the 0 (zero) button at the same time for a few seconds.
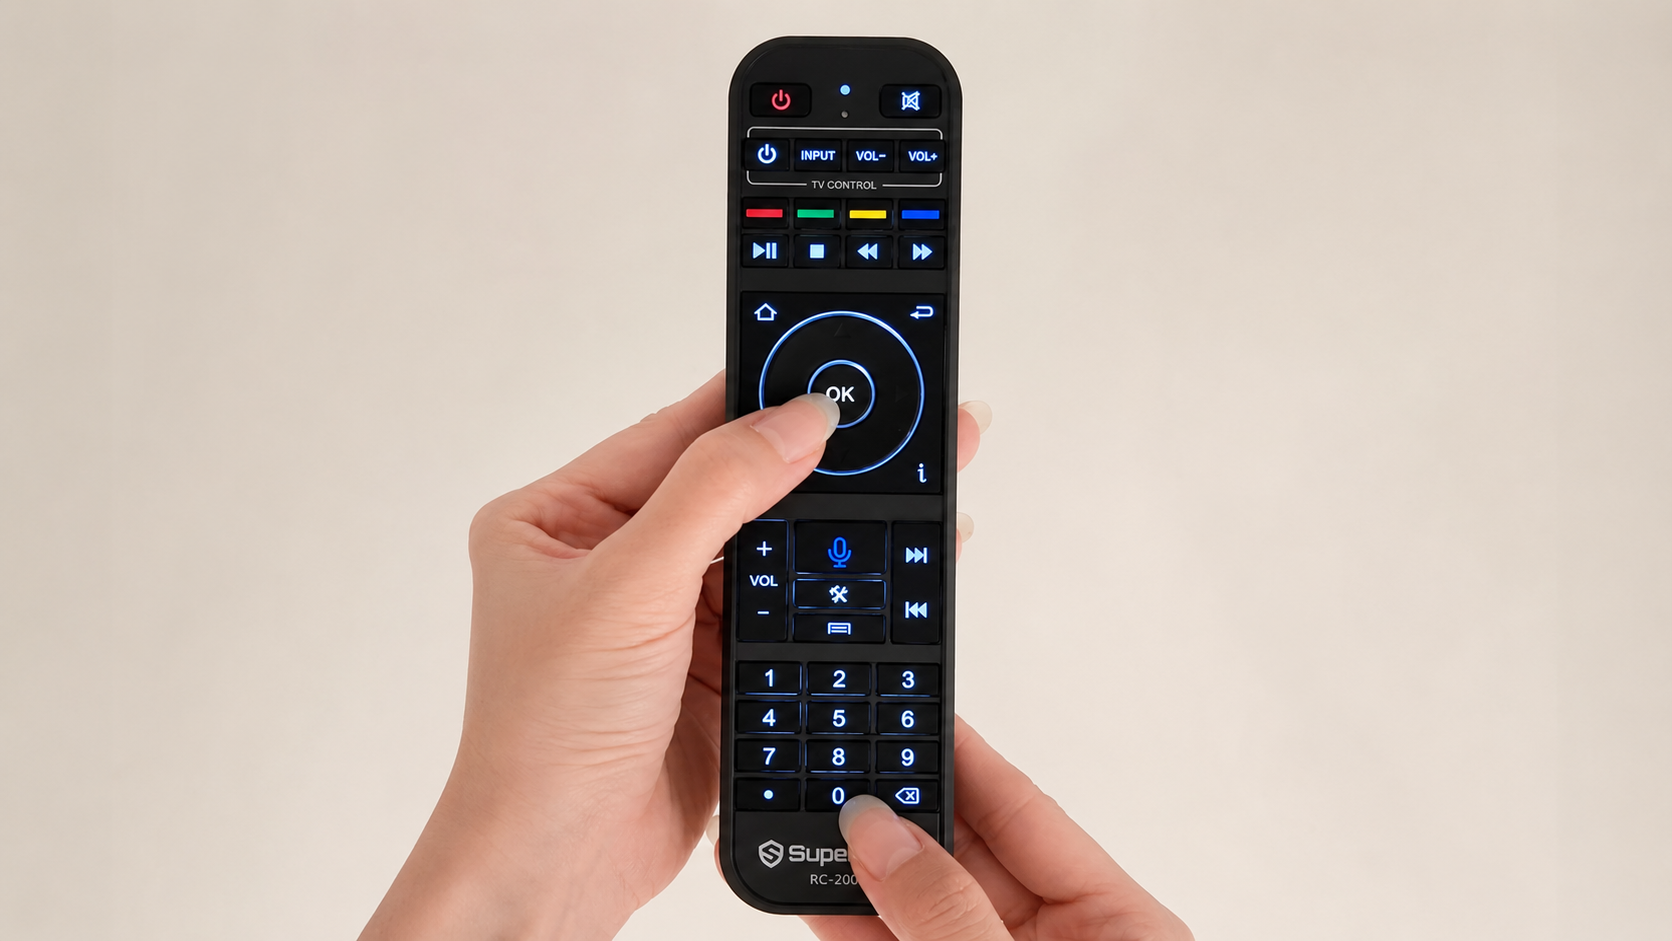
- Once enabled, the remote’s buttons will automatically light up making them easy to see in low-light environments.
How to Connect SuperBox P7 Pro to Wi-Fi
During the initial setup, the device will prompt you to connect to a network right away. You can do this immediately, or come back to it later using these steps to finish how you set up SuperBox P7 Pro:
- From the main homescreen, go to Settings > Network & Internet > Wi-Fi.
- Select your home Wi-Fi network and enter your password.
- Once connected, your process to set up SuperBox P7 Pro is essentially complete.
Since the SuperBox P7 Pro relies on a stable internet connection for live TV and video streaming, make sure your Wi-Fi signal is strong where the projector is installed. For the best streaming experience, we recommend an internet speed of at least 150 Mbps. If possible, connect the projector using an Ethernet (LAN) cable instead of Wi-Fi for the most stable connection, faster speeds, and reduced buffering, especially when streaming high-quality content.
How to Update SuperBox P7 Pro Software and Apps
Keeping your device updated is an important ongoing part of how you set up SuperBox P7 Pro and maintain it over time:
- Open the App Store on the device and look for any apps showing a gray circular arrow icon — this indicates an update is available.
- Tap the app, and the update will begin downloading automatically.
- Once the update finishes, a green checkmark will appear on the app icon.
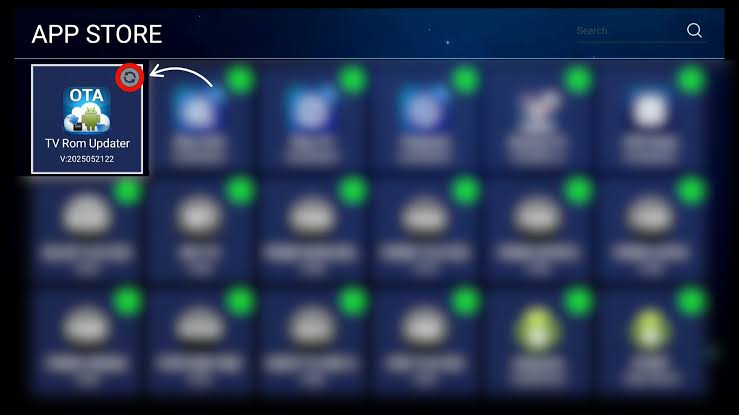
Regular updates help improve performance, fix bugs, and expand the range of available apps, so it’s worth checking every so often even after you’ve finished the initial setup.
How to Use Voice Control on SuperBox P7 Pro
One of the most convenient features to explore once you set up SuperBox P7 Pro is voice control, which lets you navigate hands-free:
- Make sure your remote is already paired with the projector via Bluetooth.
- Press the button with the blue microphone icon on the remote. A green recording icon will appear in the top-right corner of the screen once pressed.
- Speak your command clearly — for example, say “open Settings” — and the projector will carry out the command automatically.
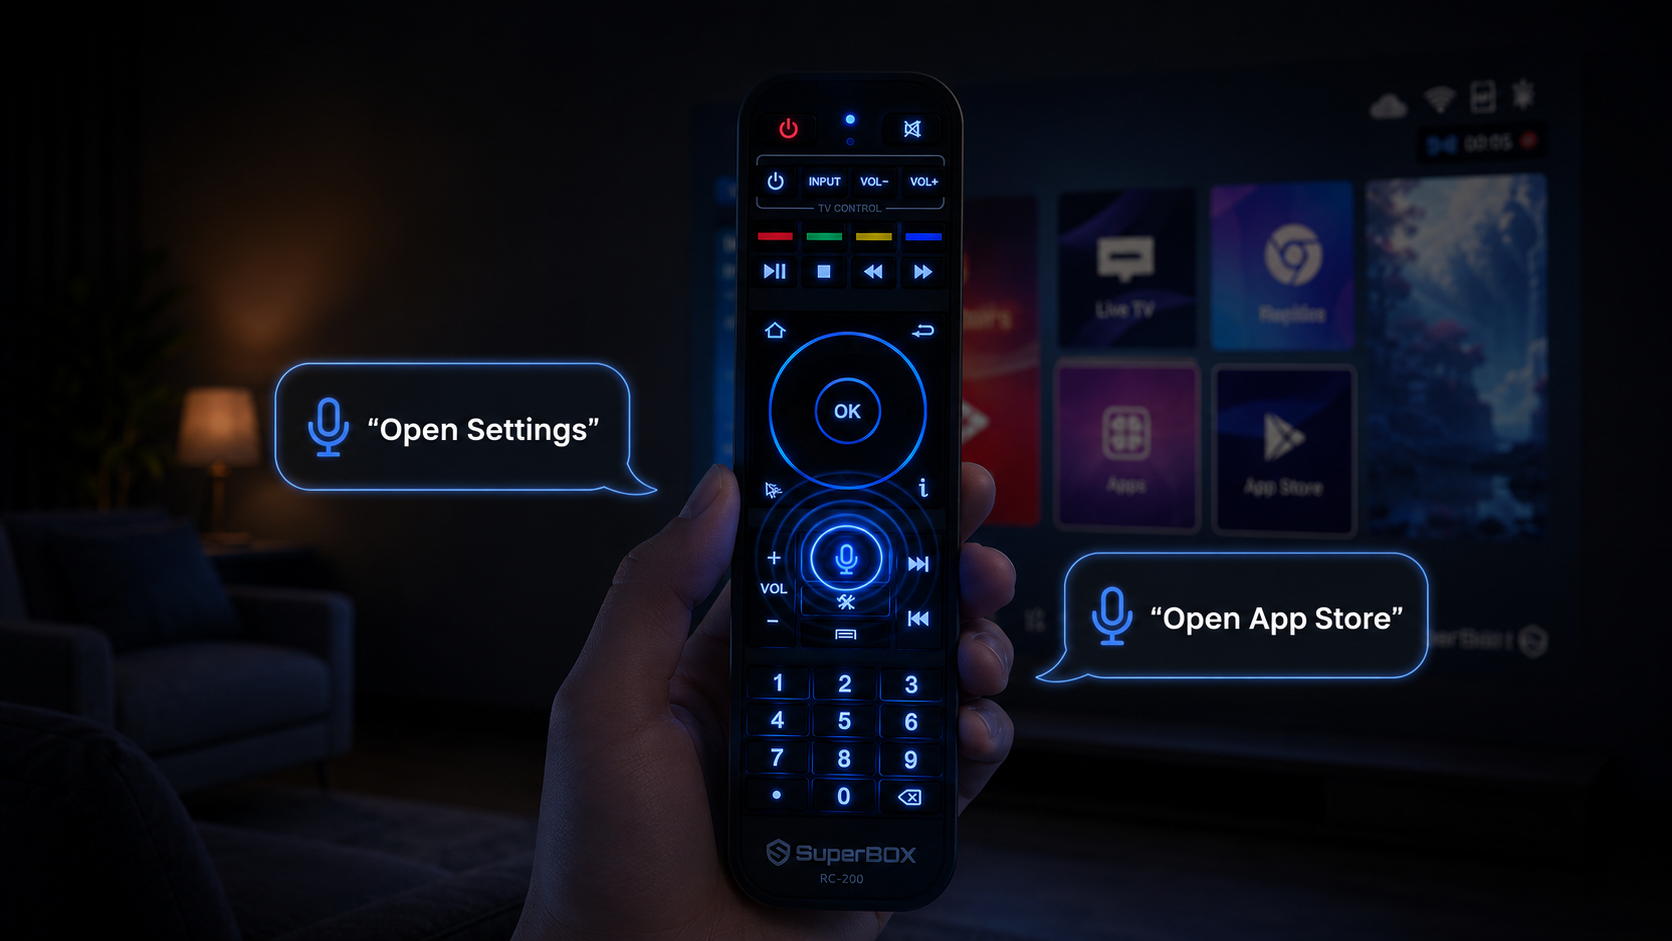
This feature makes daily use noticeably faster once you’ve fully finished the process to set up SuperBox P7 Pro.
How to Factory Reset SuperBox P7 Pro
If you ever want to start completely fresh:
- Go to Settings > Device Preferences > About > Factory Reset.
- Confirm the action and wait for the device to reboot.
Keep in mind that this will erase all data and settings, meaning you’ll need to set up SuperBox P7 Pro again from scratch afterward.
How to Restart SuperBox P7 Pro
Need a quick refresh without losing your settings? Restarting is a simple way to fix minor glitches or improve performance:
- Go to Settings > Device Preferences > About > Restart.
- Confirm and wait a few seconds for the device to reboot.
Still Need Help? We’re Here for You
If you still have questions about how to set up SuperBox P7 Pro, our support team is ready to help, whether it’s remote pairing, Wi-Fi troubleshooting, or picture adjustment. Feel free to reach out through live chat or WhatsApp for a quick response. Setting up a projector might sound intimidating at first, but as you can see, the process to set up SuperBox P7 Pro is straightforward, fast, and doesn’t require any special technical skills, just a blank wall, a power outlet, and a few minutes of your time.
For more details on the device itself, visit the official SuperBox P7 Pro Projector page, or explore the full lineup of products on the SuperBox Official Website. Since the P7 Pro shares the same software as the rest of the SuperBox family, most of what you learn here will also apply if you ever pick up another model down the road.
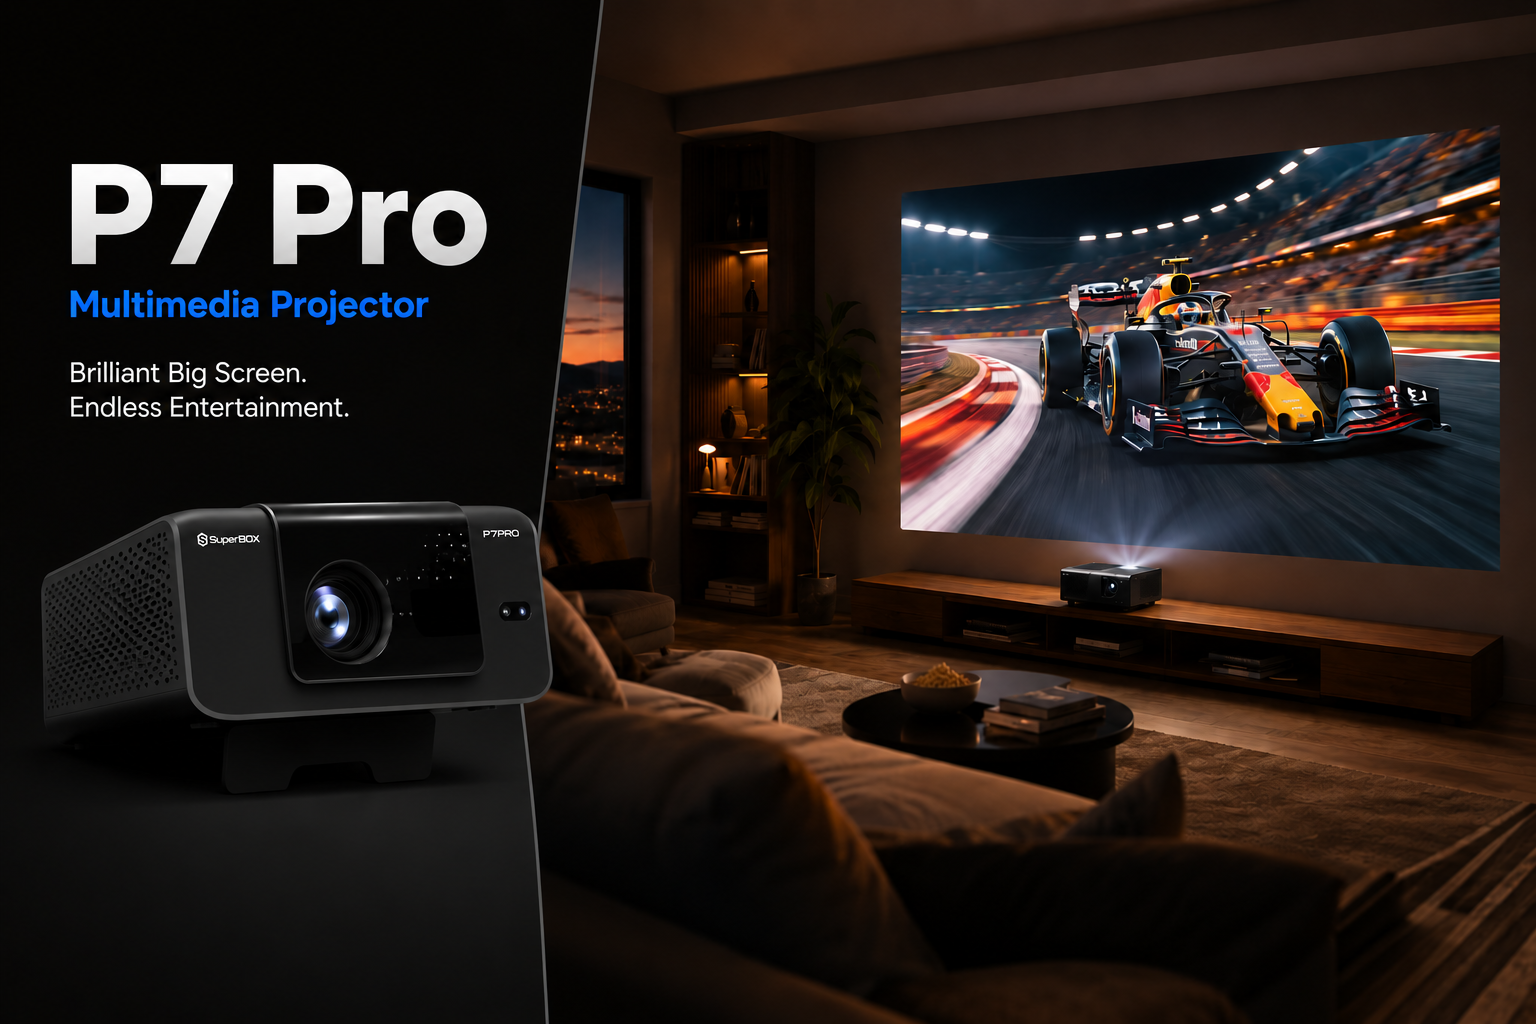
Ready to upgrade your home entertainment with the SuperBox P7 Pro projector? Fill out the preorder form below to reserve your unit and be among the first to experience the all-new SuperBox P7 Pro.